View all information about a contact

When you click the Show All Contacts button (1), all the columns set in the extended view, or the categories of data available for each contact in the database, appear in the basic view (2).
Displaying all columns is obviously not optimal for normal work, so the system offers the user the opportunity to set their own views.
Set a custom view

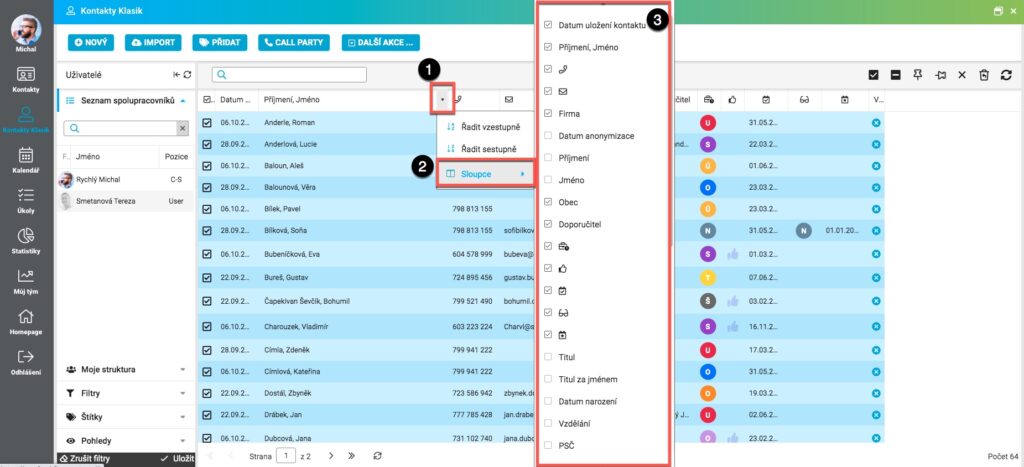
To set a custom View, click the drop-down button (1) next to any column, and then click the Columns icon (2). Leave (or check) the ones you want to display in the view (3).
In our case, for example, we decided that one of our views would be purely general and leave only selected columns checked. For columns, you can also drag the mouse to change their order.
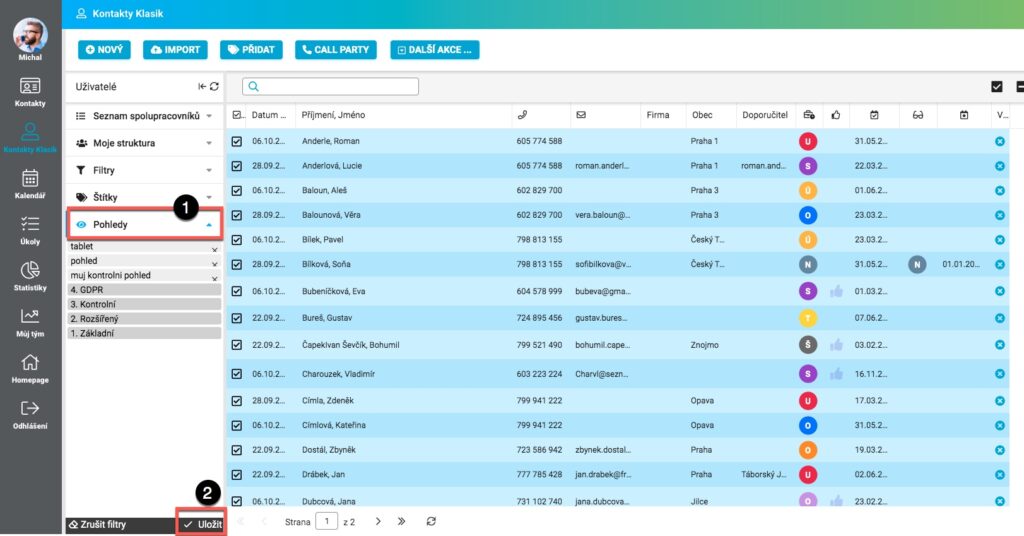
On the Views tab (1), click Save (2).

The system will prompt you to enter the name of your chosen view. After entering the name, click OK to confirm.

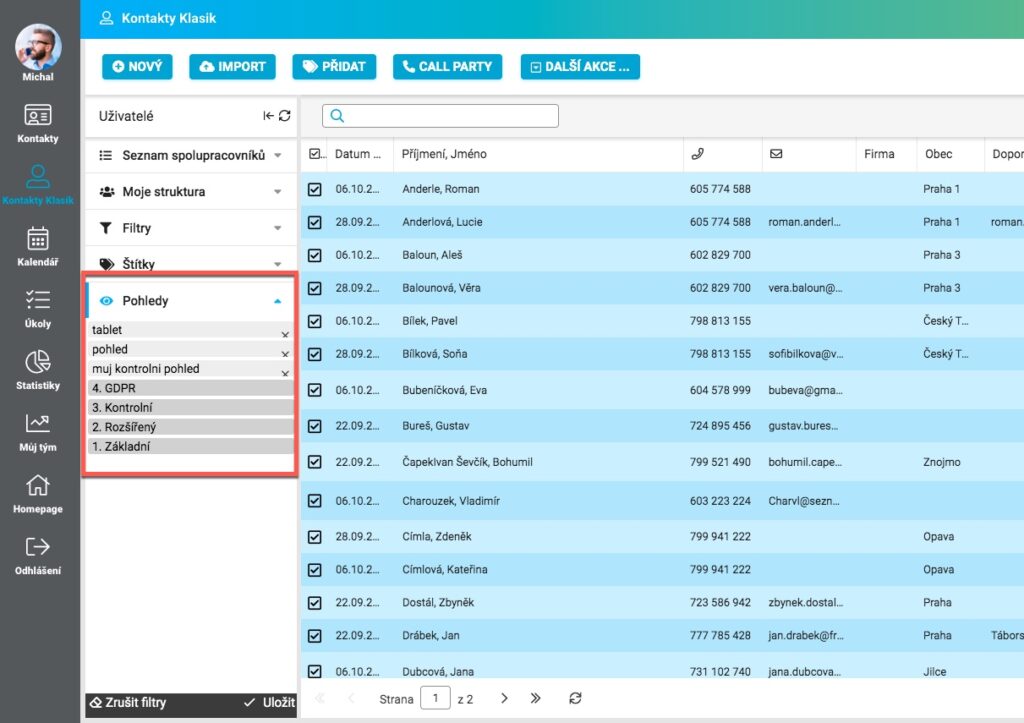
And then the view appears in the Views tab.
